
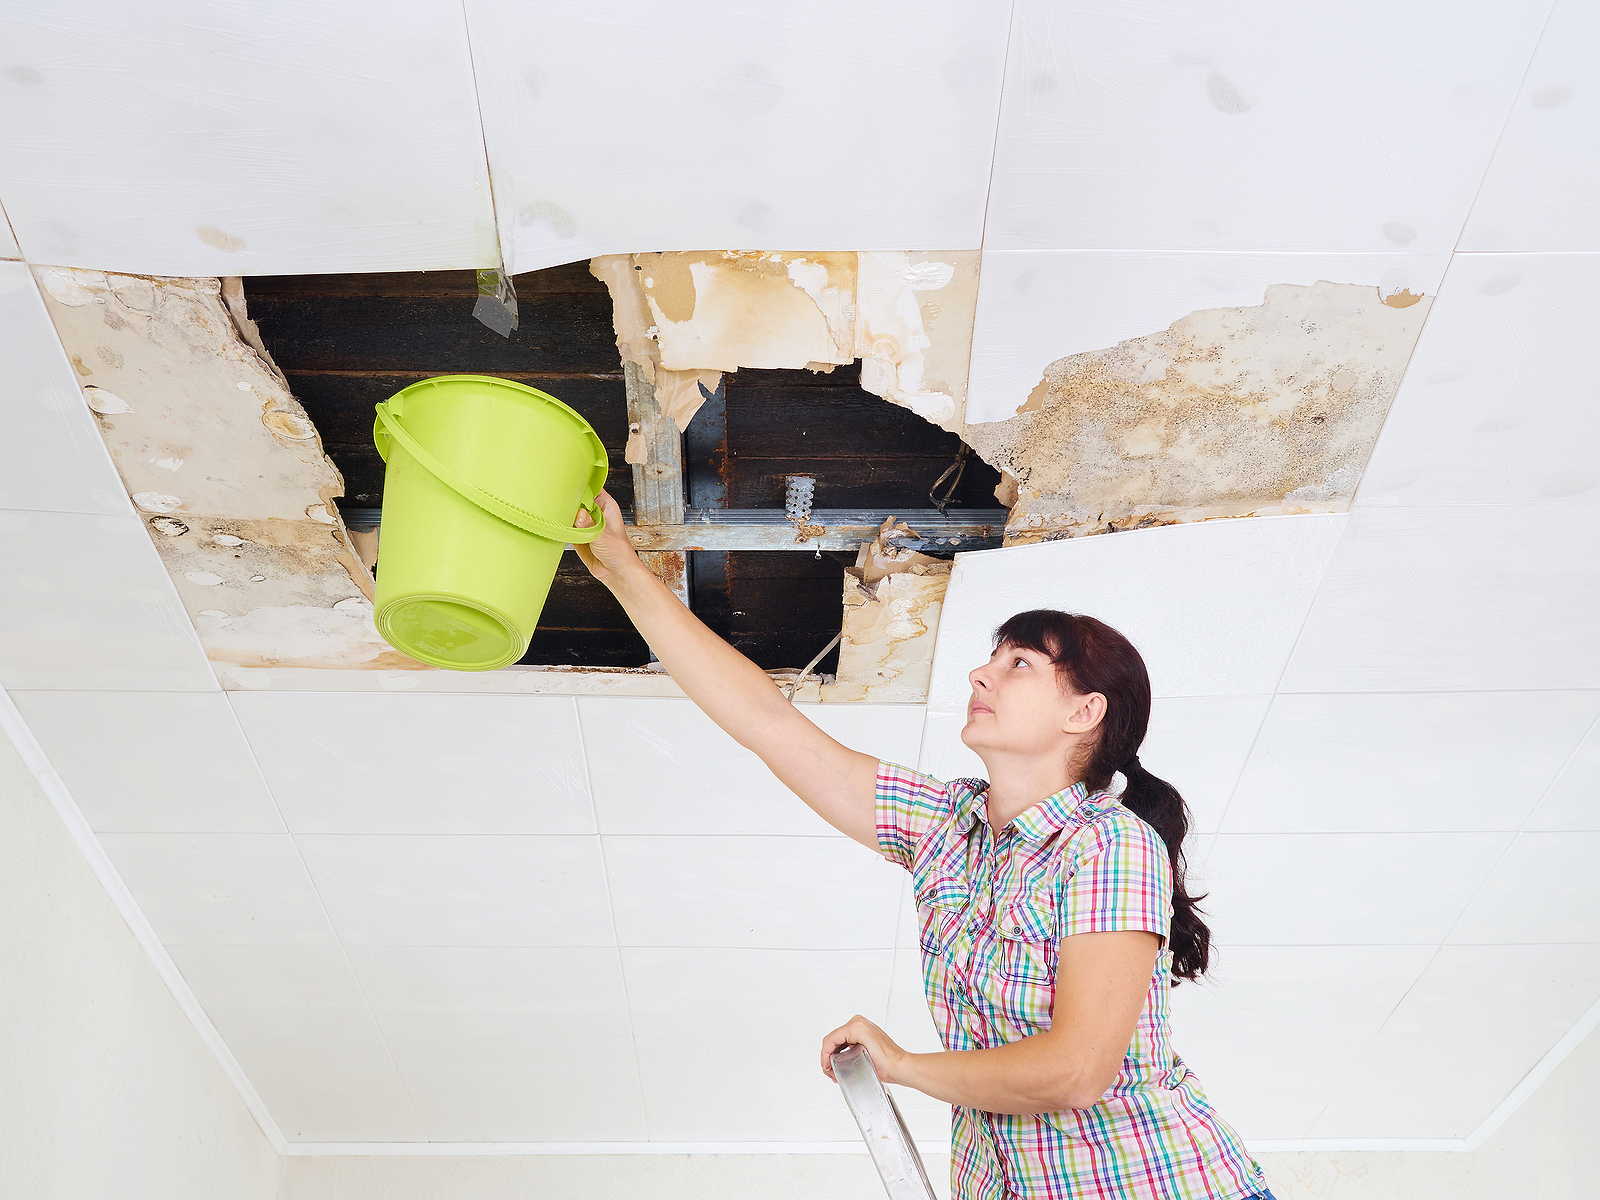
Recessed lighting is a popular lighting method in new residential construction. Lying flush to the ceiling, it provides a sleek modern accent to kitchens and baths.
Although attractive, recessed lightings are not energy efficient. They require higher wattage bulbs and, if not sealed properly, the hole allows cold air to enter the house.
For this reason, many homeowners are choosing to remove recessed lights. Once the canister is removed from the ceiling, though, you have a gaping hole to contend with.
Commercial blanks are available, in various sizes, that use a spring to hold the blank flush with the ceiling, or you can make your own patch.
Here’s what you’ll need for the project:
- Pencil
- Drywall saw
- Utility knife
- Rag
- 1 x 4 pine
- Saw
- Construction adhesive
- C-clamps
- Measuring tape
- Drywall
- 1 ¼ inch drywall screws
- Mesh drywall tape
- Drywall joint compound
- Drywall knife
- Medium or coarse sandpaper
Use a pencil to draw a square around the hole, centering it on an adjacent stud.2.
Follow the penciled outline with the drywall saw, cutting off all sides of the square, except the one on the stud.
Use a utility knife to cut that side.Use a moist rag to dust off the edges of the hole to remove drywall dust and flakes.
Measure the height of the square hole and use the saw to cut the 1×4 6 inches longer than the square’s height.
Apply the construction adhesive to the top and bottom of the board in a 4-inch wide band, insert the board into the hole and press it to the inside wall, on the side adjacent to the stud.
Apply C-clamps to the top and bottom of the board to hold it in place against the wall. Allow the adhesive to dry completely and remove the clamps.
Measure the square and cut a piece of drywall to fit. Use the screws to fasten the drywall piece over the hole, screwing two into the stud, at the top and bottom of the square and two into the 1×4, at the top and bottom.
Cut the mesh tape into strips that are 2 inches longer than the square’s height and apply them to the wall, overlapping one another.
Apply the drywall compound with the drywall knife by spreading it over the mesh. Don’t apply too much – you should just barely see the mesh beneath the layer of compound. Feather the edges to the wall. Allow the compound to dry overnight.
Sand the area thoroughly to smooth it and remove rough edges.
Apply a second coat of drywall compound, spreading it an additional 4 inches on all sides, beyond the first application. Feather the edges so that they blend in with the surrounding wall.
Allow the compound to dry thoroughly and apply another coat. When this coat dries, sand again.


